
This guide contains the best Dust2 lineups in CS2 for standard rounds and fast executes. The page is useful both for beginners learning basic smokes and Molotovs, and for players who need a quick reference for Dust2 grenades.
On CS2Nades.gg, you can quickly open the lineup you need, watch the video, go to the dedicated grenade page, and build your own working set of Dust2 smokes. Use this guide as a starting point, then move on to the detailed grenade cards.
T-Side Grenades
A basic set of T-side grenades on Dust2. The main goal is to avoid taking direct fights on long sightlines. The priority is to smoke Mid Doors/Xbox, take Long or Short toward A, and for B executes, synchronize Window + Doors + a flash from Tunnels.
Mid / Short Control
These grenades are needed for defaults, Short takes, and setting up a Mid-to-B split. This is where you should start learning Dust2, because Mid affects both A and B.
Smoke from T Spawn to Xbox
Blocks Xbox / part of CT Mid vision and allows the T side to move toward Catwalk/Short more safely. Use it at the start of a default, before going Short, before an A fake, or before a Mid-to-B split.
Smoke from T Spawn to Mid Doors
Blocks vision through Mid Doors, reduces the risk of an AWP pick and wallbang damage. Use it for any default, safe movement into Lower/Mid, or hiding your round plan.
Smoke from T Spawn to CT Mid
Cuts off the AWP at the very start of the round and helps take Lower, Xbox, or prepare a split. It is also useful if the team decides to play B through Mid instead of only through Tunnels, because it blocks CT rotation from A after they get information.
Smoke from Mid to CT
Blocks CT Spawn after Mid is taken and creates a timing window to move through Mid Doors toward B. Use it when Mid is already controlled and you need to execute B through Mid + Tunnels together.
Smoke from Catwalk to CT Mid
Hides the move into CT Mid and allows the team to switch direction from A into a B split. Use it in the mid-round if Short has been taken, but A is locked down or CTs have rotated.
Long and A Site
These grenades are needed for A Long executes, taking Pit, and a full A-site utility setup. The CT smoke, Car Molotov, and Long flashes help block rotations, force defenders out of key positions, and safely move toward the bomb plant.
Flash from Outside Long to Long
Creates a timing window for the first contact at Long Doors and helps you avoid dry-peeking. Use it at the start of the round for fast Long control or to retake Long after a pause.
Smoke from Outside Long to CT
Cuts off CT Spawn / rotation and allows Ts to move toward the site more safely. Use it after taking Long, before entering A Site and planting the bomb.
Smoke from Long to CT
Serves the same purpose as the previous smoke, but it is thrown from Long and works well for a late A execute. Use it when you are executing Long late, when the Outside Long position is no longer available, or when the team is playing from Pit/Long.
Molotov from Long to Car
Burns Car, one of the most dangerous close angles when entering from Long.
Molotov from Short to Goose
Forces the player out of Goose so you do not have to clear a strong angle with a dry peek.
Flash from Short to A Site
Blinds close A Site, Ramp, and Goose, allowing players to exit from Catwalk. Use it for a synchronized Short execute, especially together with Long pressure.
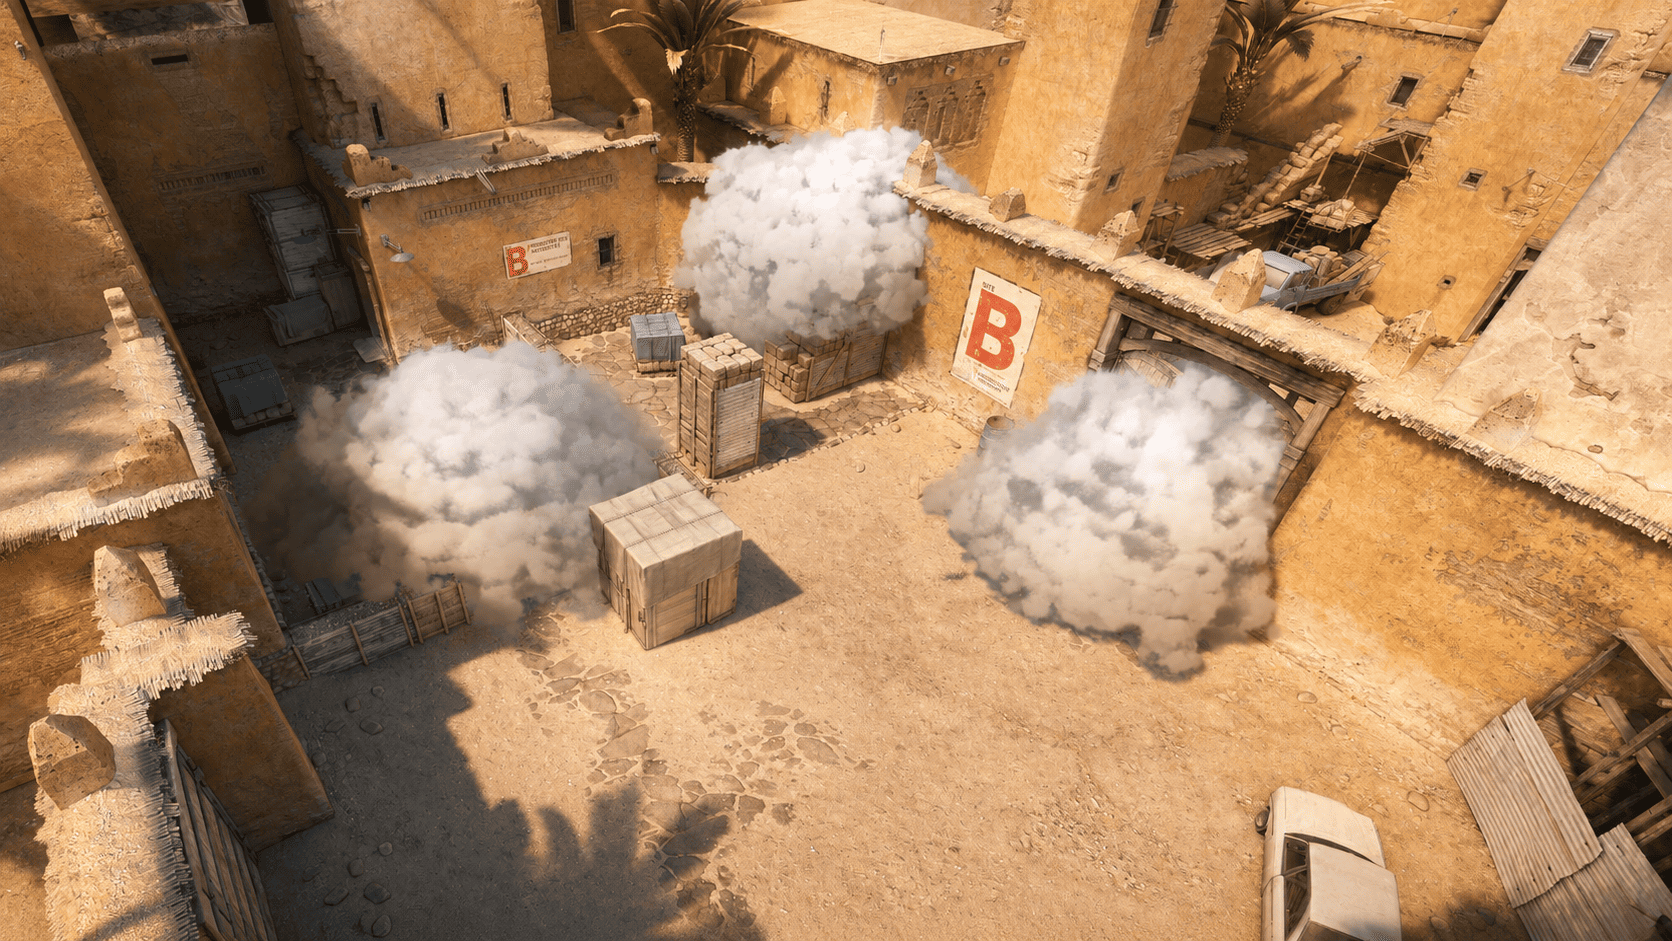
B-Site Execute
For a B execute, the most important thing is to block Window and Doors, then burn deep positions and flash the entry. These grenades help you exit Tunnels without immediately taking duels against three angles.
Smoke from Outside Tunnels to B Window
Blocks Window and removes one of the main defensive / retake angles. Use it for any B execute from Upper Tunnels, especially against an AWP or fast CT rotation. Best combined with a B Doors smoke, Upper Tunnels to Fence Molotov, and Upper Tunnels to B Site flash.
Smoke from T Plat to B Doors
Blocks B Doors, cuts off rotation vision, and reduces the number of angles during the entry. Use it before a fast B rush or a full B execute together with the Window smoke.
Smoke from Outside Tunnels to B Doors
Solves the same key task, but from a more natural Outside Tunnels position for a B utility setup.
Smoke from T Plat to B Plat
Cuts off B Plat / Back Plat and makes it harder for CTs to hold the entry from deep site positions.
Molotov from Upper Tunnels to Fence
Burns Fence / deep B, where the anchor can wait out flashes and hold the execute. Use it before the first entry from Upper Tunnels, especially against passive B defense.
Flash from Upper Tunnels to B Site
Flashes B Site and forces the anchor to turn away at the moment your team exits Tunnels.
CT-Side Grenades
A basic set of CT-side grenades on Dust2. These grenades are useful not only for stopping rushes, but also for safer rotations.
Mid Defense and Rotations
Mid on Dust2 is dangerous because of wallbangs, fast split rounds, and late executes. CT grenades here are needed to hide rotations and regain control without dry-peeking.
Smoke from CT Spawn to Mid Doors
Blocks early information for the opponents in the center of the map and makes CT rotations safer. Use it at the start of the round to move between A/B/Mid without getting wallbanged and to hide your setup.
Smoke from CT Mid to Short
Blocks Short/Catwalk and disrupts fast A Short executes. Use it when Ts are taking Catwalk and the A player needs time to reposition or get help.
Smoke from CT Mid to B Tunnels
Helps the Mid player block Tunnels and gives the B anchor time to wait for support.
Flash from CT Mid to Mid Doors
Catches Ts near Mid Doors and gives CTs a window for information or first contact without a dry peek.
Long Defense and A Retake
On A, the key tasks are delaying the Long push, supporting repeat peeks with flashes, and using retake grenades on A Site. These lineups help you avoid giving up Long for free and retake the site after the bomb is planted.
Smoke from A Site to Long
Slows down an A-site hit through Long after getting information. Because of its unusual setup, this smoke can surprise opponents. Proper timing is important.
Smoke from Elevator to Long
A one-way smoke from Elevator for holding Long without taking an obvious fight.
Flash from CT to Long
Blinds Ts after the first contact on Long and helps a teammate in Pit/Long re-peek.
Molotov from CT Spawn to A Site
Forces Ts out of A Site / default positions and helps start the retake. Use it after the bomb is planted on A when you need to clear a strong post-plant angle.
Flash from CT Spawn to A Site
Helps start the retake. Use it for an A retake through CT or to support the player entering first.
B-Site Defense and Retake
B Site is often lost because of fast contact through Tunnels. That is why CTs need a smoke for Upper Tunnel, a flash for B Entry, and a retake set through Window/Doors.
Smoke from CT to Upper Tunnel
Blocks Upper Tunnel, disrupts the timing of a B rush, and gives the anchor more time. Use it against frequent B rushes / anti-eco plays or after early information about a Tunnels push.
Flash from B Plat to B Entry
Helps the anchor counter-peek the Tunnels exit.
Molotov from B Window to B Site
Disrupts the plant and forces Ts to change position after entering.
Molotov from B Doors to Back Plat
Burns Back Plat, one of the strongest T-side post-plant positions.
Flash from B Doors to B Site
Creates a window to enter through B Doors and helps CTs avoid swinging one by one.
FAQ: Dust2 Grenades in CS2
Which Dust2 lineups in CS2 should I learn first?
The first lineups you should learn are basic Mid and site-execute smokes: Xbox smoke, CT smoke from Long, Mid Doors smoke, B Doors smoke, and B Window smoke. These grenades are used most often in regular matches, Premier, and Faceit because they help you safely take Mid, execute A through Long or Short, and run fast B executes.
If you are just starting to learn Dust2 lineups, do not try to memorize every smoke, Molotov, and flash at once. It is better to start with 5–7 of the most useful grenades that actually appear in almost every match.
Which smokes are the most important for T side on Dust2?
The most important T-side smokes on Dust2 are Xbox Smoke, CT Smoke from Long, Mid Doors Smoke, CT Mid Smoke, and B Doors / B Window smokes. With these smokes, the T side can move toward Short more safely, cut off the Mid AWP, block CT during an A execute, and isolate defenders on B Site.
For most players, the first smoke to learn should be the Xbox smoke, because it opens the path to Short and helps control the center of the map without constantly risking death to an AWP through Mid.
Which grenades do you need for an A Long execute?
For an A Long execute in CS2, you usually need a CT smoke, a Car Molotov, and flashes for Long / A Site. The CT smoke cuts off rotation and vision from CT Spawn, the Car Molotov clears a strong position near the car, and the flashes help you pass Long Doors and take Pit or A Long.
If the team executes A without a smoke, defenders can easily stop the attack from CT, Ramp, Goose, or Short. That is why the Dust2 CT Smoke is one of the most important grenades for a full A Execute.
Which grenades do you need for an A Short execute?
For an A Short execute, CT Mid or CT smoke, Goose Molotov, A Site Molotov, and a flash from Short to A Site are useful. These grenades help cut off rotations, force the anchor out of Goose, and make the site entry easier.
A Short Execute on Dust2 works especially well if the team has already taken Mid and forced CTs to worry about both A and B. In this scenario, Short utility can quickly turn Mid control into a full A execute.
Which grenades do you need for a fast B execute on Dust2?
For a fast B Execute on Dust2, you need smokes for B Doors and B Window, Molotovs for Back Plat / B Plat, and flashes from Upper Tunnels. Smokes block the most dangerous sightlines, Molotovs force defenders out of cover, and flashes allow teammates to exit Tunnels more safely.
Without flashes, a fast B hit often turns into a dry rush through a narrow choke point. That is why even a simple flash from Upper Tunnels can greatly increase the chance of a successful B Site execute.
Which Molotovs are the most useful on Dust2?
The most useful Molotovs on Dust2 are the Car Molotov on A Long, Goose Molotov during an A execute, B Plat / Back Plat Molotovs for B executes, and Molotovs for Mid Doors or Catwalk control. These grenades do not just deal damage — they force opponents out of strong positions.
Molotovs are especially important against players who like to hold closed angles: Car, Goose, Back Plat, Fence, B Plat, and positions near doors. A good Molotov saves time on clearing angles and makes the team’s entry safer.
Which flashes should I learn on Dust2?
On Dust2, you should learn a Long flash for taking A Long, a flash from Short to A Site, flashes from Upper Tunnels to B Site, and CT flashes for supporting a teammate on Long or B. These flashes often decide the first contact and allow you to enter under blind pressure instead of dry-peeking.
For solo play, simple pop flashes that do not require perfect team timing are especially useful. In team play, it is better to use support flashes: one player throws, and another player immediately swings for contact.
Which grenades are useful for CT side on Dust2?
On CT side Dust2, useful grenades include smokes for stopping Long, Short, Mid, and B Tunnels, Molotovs for delaying the attack, and flashes for retakes or aggressive peeks. CT utility on Long, Mid Doors, Upper Tunnels, and B Site is especially important.
The main goal of CT-side grenades is not always to kill the opponent immediately, but to slow down the attack, take space, and give teammates time to rotate. That is why defensive smokes and Molotovs are often more valuable than trying to take a dry duel.
How do you practice Dust2 lineups in CS2?
The best way to practice Dust2 lineups is on a separate server with grenade practice commands enabled. We have a separate guide on how to practice lineups.
First, learn the position, crosshair placement, throw type, and result of the grenade. Then repeat the lineup several times in a row without hints. After that, try using the grenade in a regular match or Premier.
It is important to practice not only the throw itself, but also understanding the situation: when you need an Xbox smoke, when it is better to throw a CT Smoke, when to use a Car Molotov, and when a flash is more useful than a smoke. A good lineup only works when you understand why you are using it.
How many Dust2 grenades do you need to know for normal play?
For comfortable Dust2 play, it is enough to know around 10–15 main grenades: several Mid and A smokes, 2–3 grenades for B Executes, a couple of Molotovs for popular positions, and a few simple flashes. This is already enough to avoid playing Dust2 only through aim duels.
Advanced players should gradually add situational grenades: smokes for Mid-to-B splits, CT retake grenades, fake smokes, and Molotovs for clearing specific positions. But it is better to start with basic and reliable lineups.
Can you play Dust2 without knowing lineups?
You can play Dust2 without knowing lineups, but in practice it strongly limits the team’s options. Without smokes, the T side often dies to the AWP on Mid, cannot properly execute A through Long or Short, and struggles to enter B through Tunnels.
Even a few simple grenades noticeably increase your chances of winning a round. That is why Dust2 in CS2 is better learned not only through aim, but also through basic smokes, Molotovs, and flashes for key areas of the map.
What are the most common mistakes when using Dust2 lineups?
The most common mistake is learning a grenade without understanding when it is needed. For example, a player knows the Xbox smoke but throws it too late, when the team has already lost Mid control. Or they know the Car Molotov but do not use it during a Long execute.
Another mistake is throwing grenades without communication. If a smoke, Molotov, or flash is not synchronized with the team’s execute, it may not create an advantage. That is why the best Dust2 lineups do not work on their own — they work together with timing, information, and teammate movement.