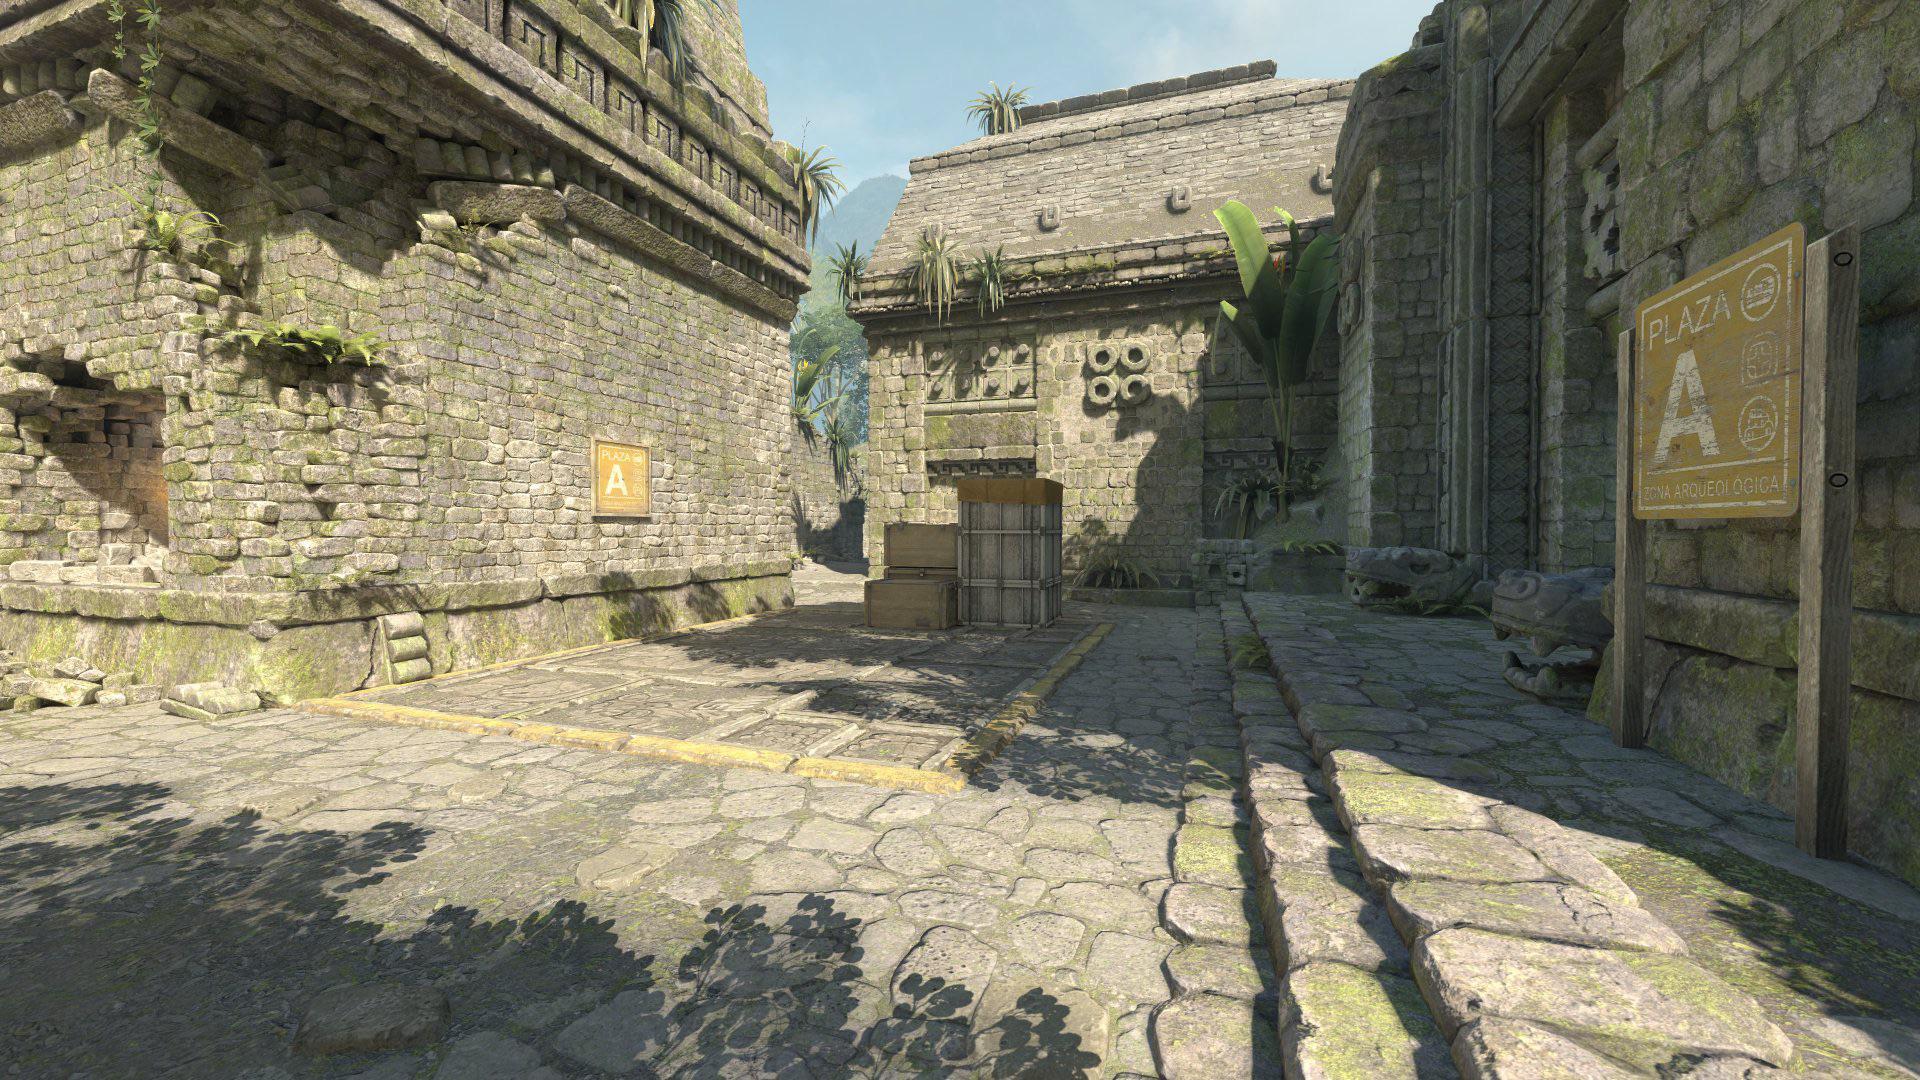

This guide covers the best grenade lineups on Ancient in CS2 for standard rounds and fast executes. It is suitable both for beginners learning basic smokes and Molotovs and for players who need a quick reference for utility on Ancient.
On CS2Nades.gg, you can quickly open the lineup you need, watch the video, visit the grenade’s dedicated page, and build a practical set of smokes for Ancient. Use this guide as a starting point, then move on to the detailed grenade pages.
Ancient is a map where utility often determines whether a team can safely take Mid and break the defense’s strongest positions on the bombsites. Do not try to learn every lineup at once. Start with the basic Mid utility, then learn the Donut, Temple, and CT combination for A, followed by Long, Short, and Cave utility for B.
T-Side Grenades on Ancient
On the T side, the main objective is to gain space in Mid or force the CTs to reveal their setup. From there, the team can run an A split through Donut or a B execute through Ruins. Smokes should land before the push, Molotovs should clear anchor positions, and flashes should detonate as the entry players move forward.
Mid, Donut, and Cat Control
Mid connects both bombsites and opens fast routes toward Donut, Cat, and Construction. The basic T-side utility set blocks the CTs’ early sightlines, allowing the team to take central control, show a fake, or transition into a split. Do not spend every grenade in the opening seconds; save at least one flash for the second contact.
Smoke from T Spawn to Top Mid
A fast smoke for Top Mid during the first stage of central control. It removes the defender’s early vision and allows the team to leave Lower Mid without taking a dry duel. Throw it during a default or before a fast Mid take. It works best when immediately supported by a flash from T Spawn.
Smoke from T Spawn to Donut
A key early smoke for Donut that cuts off one of A Site’s main supporting players and prevents the CTs from safely controlling Mid. Use it when your team plans to take the center, enter Donut, or show pressure before an A split.
Smoke from T Spawn to Cat Room
Blocks Cat Room and makes it harder for the defense to establish early Cat control. The smoke is useful in rounds built around a fast Mid take because it reduces the number of angles the entry players must clear and conceals rotations toward Construction or Donut.
Smoke from Lower Mid to Donut
The Lower Mid-to-Donut smoke is used after the team has gained initial Mid control. It isolates the rotating CT, helps the Ts move toward A through Mid, and prevents the defender from watching Cat while simultaneously supporting A Site. It is a strong option for a late A split.
A Execute: Donut, Temple, and CT
A clean A execute is built around the three main routes from which the defense can receive support: Donut, Temple, and CT Spawn. Block two or three of these positions with smokes, burn out Default, and throw a flash over the site. During an A split from Mid, the Donut smoke is especially important because it breaks the defensive crossfire.
Smoke from Stairs to Donut
Cuts off Donut before the A execute and prevents the Mid player from freely supporting the bombsite. Use it in a full A execute or during a push through Main when your team does not control Mid. The smoke is especially important when combined with smokes for Temple and CT.
Smoke from A Main to Donut
A basic Donut smoke thrown directly from A Main. It is convenient for a fast A execute because the utility player stays close to the main group and the entry players do not need to clear the long angle from Donut. Once the smoke lands, take the site immediately and do not allow the CTs to push through it.
Smoke from Stairs to Temple
A key smoke for Temple, one of the strongest long-range defensive positions on A. It removes the AWP or rifle from the first engagement and allows the attacking team to focus on clearing the bombsite. In a full execute, combine it with the Donut and CT smokes.
Smoke from Stairs to CT
Blocks the sightline and rotation from CT Spawn during an A execute. The smoke creates a safer path for planting the bomb and prevents the defenders from immediately trading the T players on the site. It is especially useful during a late execute when the CT rotation is already close.
Molotov from Main to A Default
Burns out Default on A and prevents the defender from waiting out the first flashes near the standard plant position. The Molotov is useful both before a fast execute and late in the round when a CT is playing close to the site. After throwing it, check the Temple exit and the edges of the smokes.
Flash from Hall to A Site
A flash from Hall that detonates above A Site and helps the entry players push without taking dry duels against defenders on the site, in Temple, or near the close boxes. Throw it after the main smokes have landed. Your teammates should begin their push as the flash detonates.
B Execute: Long, Short, Cave, and Pillar
The B defense is structured in layers: the long-range sightlines from Long and Short, the anchor in Cave, and the close cover around Pillar and Wood. The attacking side should isolate at least two of these lines with smokes, burn out an anchor position, and push behind a flash. Do not hesitate after throwing the Molotov; its value disappears if the CT has time to move into another position.
Smoke from T Spawn to Long
An early smoke for B Long, marked as one of the key lineups on the map. It restricts the defender’s vision and allows the attacking side to take Ruins and B Doors more safely. It works both for a fast B execute and for a default followed by a rotation back toward Mid.
Smoke from T Spawn to Pit
Blocks Pit before the first contact near B and removes a dangerous deep angle from the initial clear. Use it in a fast round when the team wants to push immediately through B Doors or as part of a full utility set with smokes for Long, Short, and Cave.
Smoke from Ruins to Short
Blocks B Short and removes one of the defender’s most important angles. This is one of the popular utility lineups on Ancient. It makes the path toward Pillar safer and allows the attacking players to split between Short and Long. Be ready for a CT to push through the edge of the smoke.
Smoke from Ruins to CT Alley
Cuts off CT Alley and delays the defensive rotation toward B. The smoke is useful after taking Ruins when the team needs to plant the bomb and gain time before the retake begins. It does not replace the Cave or Short smoke; it complements them in a more complete execute.
Molotov from B Doors to Pillar
The main Pillar Molotov for a B execute. It forces the defender out of the central cover and breaks the crossfire with Cave and Short.
Flash from Ruins to B Site
A flash from Ruins for the main B execute. It detonates above the site and blinds players near Pillar, Short, and Default without forcing the entry player to look directly toward the flash. Synchronize it with the smokes and the Pillar Molotov.
Flash from Construction to Cat
A popular flash from Construction to Cat for extending B control or transitioning back toward Mid. It punishes an aggressive CT, helps the Ts take Cat, and opens a route toward Donut or a B split. The player receiving the flash must peek immediately after it detonates.
CT-Side Grenades on Ancient
On the CT side, utility is not only used to stop rushes. Smokes and Molotovs allow the defense to change the pace of the round, repeatedly block important areas, and split the attacking side into smaller groups. Alternate early utility with situational grenades so the Ts cannot predict exactly when a smoke will fade.
Mid, Lower Mid, and Donut Defense
Mid control gives the CTs information and fast rotations, but taking dry aggressive fights is too risky. An early Lower Mid smoke, a second smoke, a Molotov for Boost, and a flash from Donut allow the defense to hold space in layers without giving away the first engagement for free.
Smoke from CT Spawn to Lower Mid
An early defensive smoke for Lower Mid that disrupts the Ts’ fast timing and allows the CTs to take Top Mid or Cat on their own terms. Use it in rounds where your team intends to contest the center. A flash can be prepared behind the smoke, but repeating the same aggression every round will make the setup predictable.
Smoke from Top Mid to Lower Mid
A local smoke from Top Mid to Lower Mid used to maintain control of the center. It cuts off the T approach, conceals repositioning, and forces the attackers either to wait or push through a close smoke. Alternate it with a Molotov so you do not give the Ts the same timing every round.
Molotov from Top Mid to Lower Mid
The Lower Mid Molotov burns players preparing a second push and delays a fast takeover of the center. The second version is convenient for a different angle or timing. Use it after receiving information that several Ts are present rather than throwing it automatically at the start of every round.
A Site Defense and Retake
On A, it is important to delay Main and Hall separately while preserving utility for the retake. An early Main smoke disrupts the attacking tempo, a second smoke from CT splits the attacking group, and a smoke for A Site helps the defenders reach the bombsite after the plant. Do not throw two identical smokes at the same time without a clear reason.
Smoke from CT Spawn to Main
A basic early A Main smoke from CT Spawn. It delays a fast execute, conceals the defensive setup on A, and gives the anchor time to prepare a counter-flash. The full lineup list includes several versions, but the main guide keeps one universal option.
Smoke from Big Box to Main
The Big Box-to-Main smoke is useful for an anchor who is already on A Site and wants to slow the attack without retreating to CT Spawn. It allows the defender to change angles, wait for support, and prepare a pop flash through the edge of the smoke.
Smoke from CT to Hall
Blocks Hall and delays the second line of pressure on A. It is useful against rounds where the Ts spread their execute between Main and Hall, as well as during a retake when the defense needs to isolate the remaining attacker. Do not use it together with the Main smoke without a specific reason.
B Defense: Ramp, B Doors, and Construction
B executes often begin quickly, so the defense needs utility that lands before the first contact and gives the Cave and Short players time to take their positions. After the opening smoke, use a second smoke, a counter-Molotov, or a pop flash instead of trying to hold the entrance with the same grenade every round.
Smoke from CT Spawn to Ramp
An early B Ramp smoke designed to stop a fast execute. The second version is intended for a different starting spawn or timing. The smoke gives the Cave and Short players time to take their positions and prepare a flash against the attackers.
Smoke from CT Spawn to B Doors
The B Doors smoke splits the attacking group and prevents the Ts from leaving Ruins at the same time. Use it to delay the execute, maintain Long control, and prepare a counter-flash. Watch for players who may push through the smoke behind a Molotov.
Flash from Cave to Ramp
A pop flash from Cave to Ramp for stopping a fast B execute. It detonates in front of the entry players and gives the defender a window to peek without taking a dry duel. Ask your teammate to peek with the flash; otherwise, the grenade will only delay the attack briefly.
Molotov from Short to Construction
A defensive Molotov from Short to Construction that denies the Ts a comfortable position for extending B control or splitting through Cat. Use it after receiving information that the attackers have taken Construction. The fire forces them to move into the defender’s crosshair or give up their timing.
FAQ About Ancient Grenades in CS2
Which Ancient lineups should I learn first?
Start with the T Spawn-to-Top-Mid and T Spawn-to-Donut smokes. Then learn the Donut, Temple, and CT combination for A and the Long, Short, and Cave utility set for B. Add a Pillar Molotov and one flash over each bombsite. On the CT side, begin with the Lower Mid, Main, and Ramp smokes.
Why is Mid control so important on Ancient?
Mid connects Donut, Cat, and the routes toward both bombsites. Once the Ts control the center, they can run an A split, move through Construction toward B, or force the CTs to spread their defense. For the defending side, Mid provides early information and fast rotations.
Which smokes are needed for a full A execute?
A basic A execute blocks Donut, Temple, and CT Spawn. All three are not always necessary. When your team controls Mid, you can skip the Donut smoke, while during a fast push from Main it may be better to save the CT smoke. After the smokes land, throw a flash over the site and burn out Default.
When should I use the Stairs-to-Donut smoke instead of the A-Main-to-Donut smoke?
Both smokes serve the same purpose. The version from A Main is convenient when the entire group is already preparing a fast execute. The Stairs version is suitable for a pre-arranged execute with distributed utility or a different grenade order. Only one of the two is needed in a single round.
Which grenades are needed for a B execute on Ancient?
Block two or three lines among Long, Short, Cave, and CT Alley, then burn out Pillar or Wood and throw a flash over B Site. A practical minimum set consists of a Short or Cave smoke, a Molotov for Pillar, and a flash from Ruins or B Doors.
Why is the Pillar Molotov important?
Pillar is a central piece of cover on B from which a defender can survive the first wave of utility and trade the attacking players as they enter. The Molotov forces the CT toward Cave or Short or directly into the entry player’s crosshair, breaking the defensive crossfire.
How should CTs defend Mid with utility?
Use an early smoke in Lower Mid, followed by a second smoke or a Molotov when the Ts prepare another wave of pressure. A flash from Donut helps the defense retake space. Do not repeat the same opening every round; alternate between passive holds and utility-supported aggression.
How should CTs defend A Main on Ancient?
The early CT Spawn-to-Main smoke disrupts a fast execute, while the CT-to-Main smoke allows the defense to block the entrance again after the first contact. The Big Box-to-Main smoke is convenient for the anchor already playing on the site. For the retake, preserve a smoke for A Site and a flash for the approach toward the bombsite.
How can CTs stop a fast B rush?
Throw the CT Spawn-to-Ramp smoke or the CT Alley-to-B-Doors Molotov, then prepare the Cave-to-Ramp flash for your teammate’s peek. If the attackers wait, a second smoke from CT Alley is more valuable than spending all your utility at the same time at the beginning of the round.
Where can I find every grenade lineup on Ancient?
The full catalog is available on the /map/ancient page.